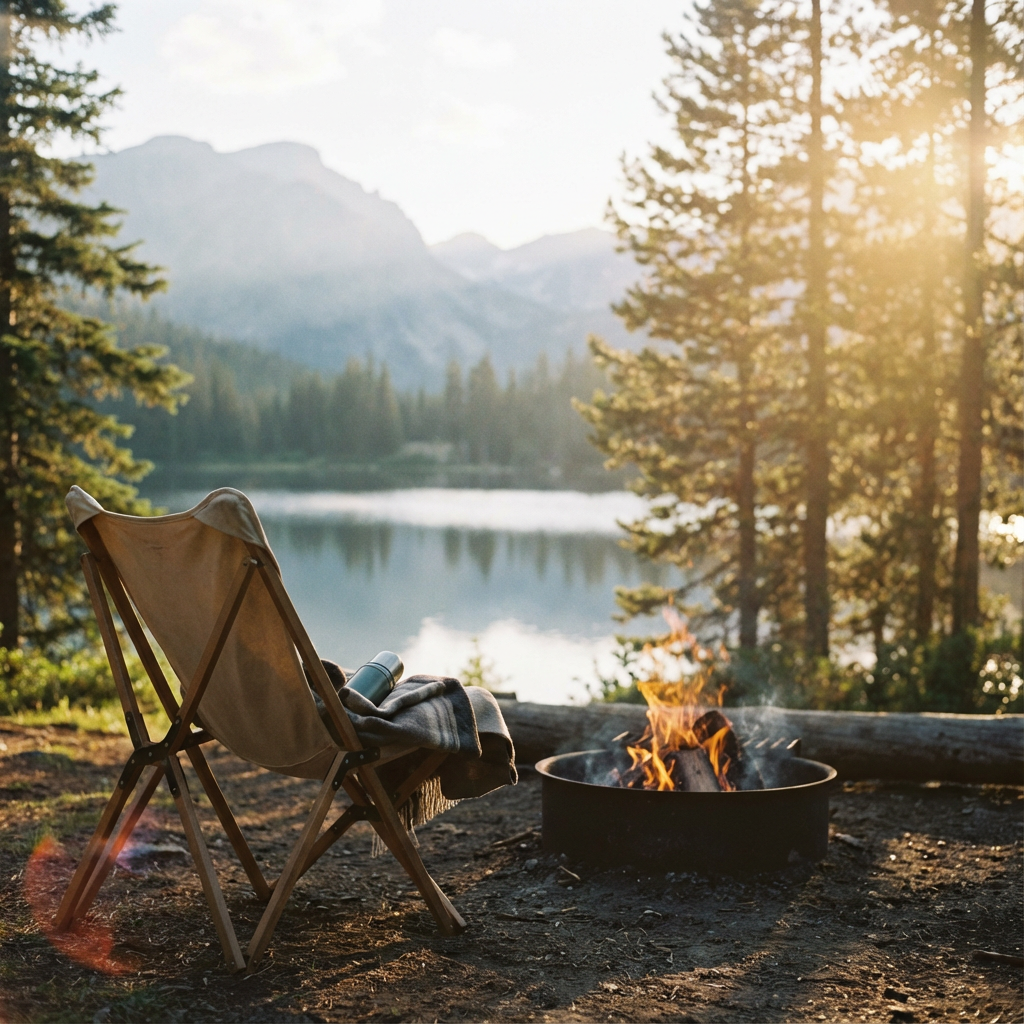
How to Build the Perfect Campfire: A Complete Step-by-Step Guide
Master campfire building with our complete guide. Learn tinder, kindling, fuel techniques, safety tips, and three proven methods for any camping situation.
Overview
From tinder to roaring flames, we break down exactly how to build the perfect campfire every single time.
The Foundation: Gathering Materials
Before you strike a match, you need three things: tinder, kindling, and fuel. Think of it as a pyramid—you start small and build up.
Tinder (The Spark Catcher)
- Dry leaves
- Pine needles
- Birch bark (nature’s fire starter)
- Dryer lint (brought from home)
Kindling (The Bridge)
- Small twigs, thinner than a pencil
- Split sticks
- Dry grass bundles
Fuel (The Main Event)
- Wrist-thick branches
- Split logs
- Seasoned firewood
Choosing the Right Wood
Not all wood burns the same. Understanding wood types will make or break your campfire experience.
Softwoods (pine, cedar, fir) ignite quickly and burn hot but fast. They’re excellent for getting your fire started but produce more sparks and smoke. Use these for kindling and early-stage burning.
Hardwoods (oak, maple, hickory) take longer to ignite but burn slower and hotter. These are your go-to for sustained warmth and cooking. A hardwood fire produces quality coals that maintain heat for hours.
Always look for seasoned wood—wood that’s been dried for at least six months. Fresh-cut or “green” wood contains too much moisture and will hiss, smoke, and struggle to burn. You can identify seasoned wood by its grayish color, cracks at the ends, and hollow sound when knocked together.
Avoid burning driftwood (releases toxic chemicals from salt), painted or treated lumber, and any wood with visible mold or fungus.
Building Techniques
The Teepee Method
The classic. Arrange your kindling in a cone shape around a tinder bundle. Light the center, and as flames rise, they’ll catch the kindling naturally. This method produces tall flames quickly, making it ideal for quick warmth or signaling. The downside: it collapses as it burns, requiring more attention.
The Log Cabin Method
For a longer-lasting fire. Build a square structure with fuel logs, fill the center with tinder and kindling. This method provides excellent airflow and burns steadily. Log cabin fires are perfect for cooking because they create a stable platform and produce consistent coals. Stack your logs perpendicular to each other, leaving gaps for oxygen flow.
The Lean-To Method
Perfect for windy conditions. Place a large log as a windbreak, lean kindling against it, and tuck your tinder underneath. The log protects your flame while reflecting heat back toward you. This is your best bet when conditions aren’t ideal.
The Platform (Upside-Down) Method
Less common but highly effective. Place your largest logs on the bottom, stack medium logs on top, then kindling, then tinder at the very top. Light from the top down. This method requires minimal maintenance because burning embers fall onto fuel below, keeping the fire going with almost no intervention.
Safety First
- Clear a 10-foot radius around your fire pit
- Check fire restrictions before you go
- Never leave a fire unattended
- Drown, stir, and feel when extinguishing
Additional Safety Considerations
Keep a bucket of water, sand, or a shovel nearby at all times. Fires can spread faster than you expect, especially in dry conditions.
Watch for overhanging branches. A rule of thumb: nothing should be within 15 feet directly above your fire. Sparks travel upward and can ignite dry foliage.
Be mindful of wind direction and speed. If winds exceed 15 mph, consider skipping the fire altogether. Embers can travel hundreds of feet in strong gusts.
Wear appropriate footwear around fires—no sandals or bare feet. Hot coals can pop out unexpectedly, and stepping on an ember is a fast way to ruin your trip.
The Art of Maintenance
A good fire needs oxygen. Don’t smother it with too much wood too fast. Add fuel gradually, and your fire will reward you with consistent warmth all night. We recommend spacing out your fuel additions every 15-20 minutes, allowing each addition to catch properly before adding more.
Pay attention to your fire’s behavior. If flames are yellowing and smoke is gray, you’re burning at the right temperature. Blue or black smoke indicates either wet wood or too much fuel. Bright yellow flames mean your fire is healthy and well-supplied.
Putting Out Your Fire Properly
This is where most people cut corners. Don’t be that person.
The Drown-Stir-Feel Method:
- Drown: Pour water slowly over the fire. Use more than you think necessary—coals hold heat longer than flames.
- Stir: Mix the ashes and embers with a stick or shovel. This exposes hidden hot spots.
- Drown again: Add more water. You’ll hear hissing—that’s moisture hitting hot coals.
- Feel: Hold your hand several inches above the ashes. If you feel ANY heat, repeat the process.
Your fire isn’t out until it’s cold to the touch. A “dead” fire can reignite hours later if coals remain buried in ash. Take your time with this step.
If water isn’t available, use dirt or sand. Mix it thoroughly with the ashes and repeat until completely cool. Never bury a fire and walk away—buried coals can smolder for days.
Leave No Trace Principles
A proper campfire leaves minimal impact on the environment.
Use established fire rings whenever available. Creating new fire scars damages soil and vegetation that may take years to recover.
Burn all wood to ash. Partially burned logs and charred sticks are eyesores for the next camper. If you start it, burn it completely.
Pack out any trash that finds its way into your fire. Aluminum cans and glass don’t burn—they just become hazards.
Scatter cool ashes over a wide area away from camp if you’re in a dispersed camping area without established rings. In developed campgrounds, leave ashes in the fire ring for maintenance crews.
Keep fires small. A raging bonfire might look impressive, but it’s unnecessary, wastes wood, and increases risk. A fire just large enough for warmth and cooking is all you need.
Troubleshooting Common Problems
Smoke following you? This is called “cold wind effect”—your body creates a low-pressure zone that draws smoke toward you. The solution is simple: move. Smoke always follows the person standing in the wrong spot.
Fire won’t catch? Check your tinder. It needs to be completely dry. If you’re struggling with damp conditions, we recommend bringing a fire starter from home or using a firestarter log as backup.
Flames dying out? You likely need more kindling or better airflow. Arrange your wood so air can flow through it, and don’t pack tinder too densely.
Happy Camping! 🏕️
More in How-To Guides
Keep reading.

Camping in Bear Country: Safety Guide
Learn bear behavior and proven safety strategies to camp confidently in bear country. Understand prevention, deterrents, and response tactics that keep you safe.
First-Time Car Camping: The Complete Checklist
Your essential guide to car camping without the overwhelm. Pack smart, plan ahead, and enjoy your first trip confidently with this comprehensive checklist.
How to Keep Food Cold Without Ice
Master proven techniques to keep your camping food fresh and cool without relying on ice. Learn passive cooling, insulation strategies, and smart food planning.